Recording a Teams Meeting

A teacher can record a Teams meeting and make the recording available to students after the meeting. The recording includes audio, video, and screen sharing. Microsoft notes that some content, such as whiteboards, annotations, shared notes, and some app content, may not be included in the recording.

Before recording a meeting

Information about online meeting recordings should be included in the syllabus. The teacher should also tell students at the beginning of the meeting that the meeting will be recorded and explain how the recording will be used.

When the recording starts, Teams automatically notifies participants that the meeting is being recorded.

Keep the following in mind:

  • Record meetings only when the recording has a clear teaching purpose.
  • Tell students where the recording will be published and who will have access to it.
  • Avoid sharing recordings openly outside the course unless this is necessary and permitted.
  • If sensitive or personal topics are discussed, it may be better not to record the meeting, or to stop the recording temporarily.

Start and stop a recording

  1. Open the Teams meeting.
  2. In the meeting controls, select More.
  3. Select Record and transcribe.
  4. Select Start recording.

To stop the recording:

    1. Select More actions again.
    2. Select Record and transcribe.
    3. Select Stop recording.

Where do I find the recording after the meeting?

Where the recording is stored depends on how the meeting was created.

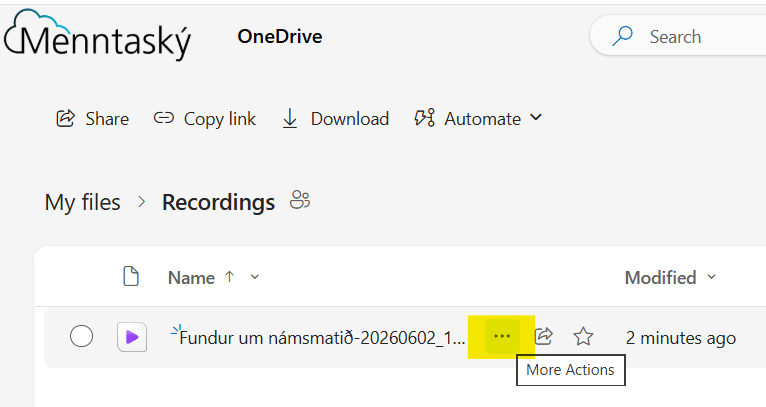
In most cases, a Teams meeting created in Canvas is treated as a non-channel meeting. The recording is saved in the meeting organizer’s OneDrive, usually in the Recordings folder. It should also appear in the meeting chat and/or in the meeting details in Teams.

upptaka frá fundi í Teams í recordings möppu

If the meeting was created in a specific Teams channel, the recording is not saved in the teacher’s OneDrive. It is saved in the SharePoint area connected to the channel. The recording can be found in the channel under Files, in the Recordings folder.

Who has access to the recording?

Access depends on the meeting type and the meeting settings.

When a meeting is created in Canvas, participants who attended the meeting usually receive automatic access to the recording. However, to ensure that all students have access, it is recommended to make the recording available on the course site through Panopto or Studio. This allows students to find it in the same place as other course materials.

Sharing the recording with students

If Panopto is used in the course, the recommended option is usually to download the Teams recording and upload it to the course Panopto folder in Canvas. This makes the recording available in the same place as other course recordings. The recording can then also be embedded, for example, on a page in the course or in the relevant module.

If Canvas Studio is used in the course, the recording can be uploaded to Studio and shared with students from there.