
1. Create an assignment
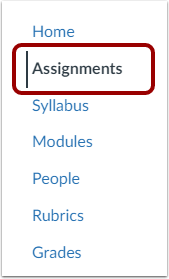
In Course Navigation, click Assignments.

Click + Assignment in the upper-right corner. The assignment settings page opens.


You can also create an assignment directly within a module or week, as shown in the video above.
2. Assignment name and instructions *
Enter a clear and descriptive Assignment Name. Use the same name as in the course syllabus or schedule.
Enter the assignment instructions in the Rich Content Editor below. Include links to supporting materials where relevant.


The instructions should clearly explain what students are expected to do, what they need to submit, and how their work will be assessed.
3. Points and grading *

- In the Points field, enter the maximum score for the assignment. Points represent the maximum grade, not the percentage weight of the assignment.
For example, enter 10 points if the assignment is graded on a scale from 0 to 10.
Always enter a point value when the assignment contributes to the final grade. Complete/Incomplete assignments also need a point value.
- Select the appropriate Assignment Group.
Assignment groups are used to organise assignments and can be assigned different percentage weights in the final grade. You can create or change assignment groups later when setting up grade weighting.
- Under Display Grade as, select how the grade should be shown to students.
Common options include points, percentage and complete/incomplete.
When Complete/Incomplete is used, Complete awards the maximum number of points and Incomplete awards zero points in the Gradebook calculation.
- Select Do not count this assignment towards the final grade when the assignment should not be included in the course total.
You can still assign points, grades, and feedback even when the assignment is excluded from the final grade.
4. Submission type *
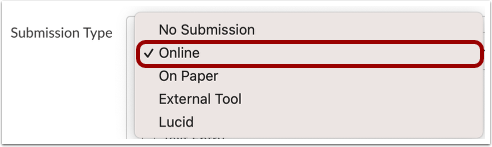
For a standard file-submission assignment:
Under Submission Type, select Online, then select File Uploads.

Use this option when students submit files such as DOCX, PDF, or MP4. Select it also when students are expected to submit a video from Canvas Studio.
To limit which types of files students can submit, select Restrict Upload File Types and enter the permitted file extensions, for example:
docx,pdf
Select only the submission options described in the assignment instructions. Too many options can confuse students and may limit the types of annotation and feedback available to teachers.
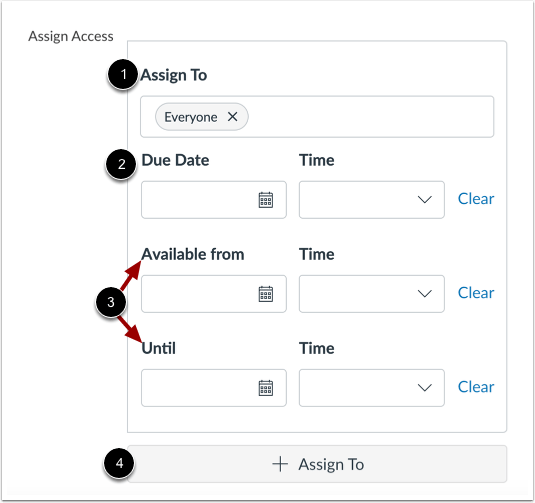
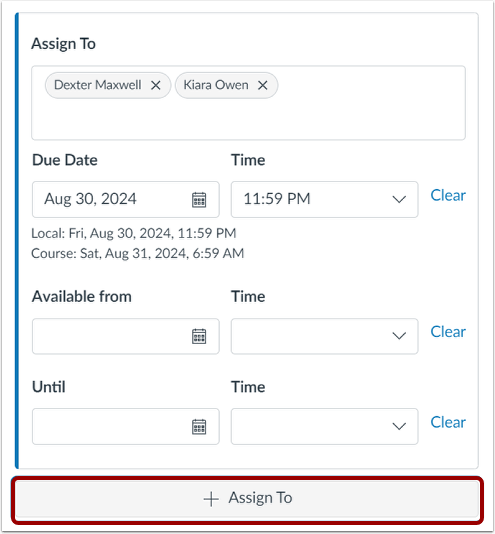
The Assign Access section determines who should complete the assignment and when it is available.
Assign To
Select the students who should complete the assignment. By default, the assignment is assigned to Everyone in the course.Due Date
Enter the date and time by which students are expected to submit the assignment. When the assignment is published, the due date appears in the course calendar and students’ planning tools.Available from and Until
Available from: The earliest date and time students can access the assignment and submit work. Before this date, students may also be unable to view the assignment instructions and attached materials.
Until: The final date and time at which Canvas accepts submissions. After this time, students cannot submit unless they have been given a separate availability period.
Add another Assign To card
Click + Assign To to add a separate card for individual students or groups who need different dates, such as an extended deadline.
Add the assignment to a module or week
When a course is organised into modules, weeks, or topics, add the assignment to the appropriate module so students can find it in context.
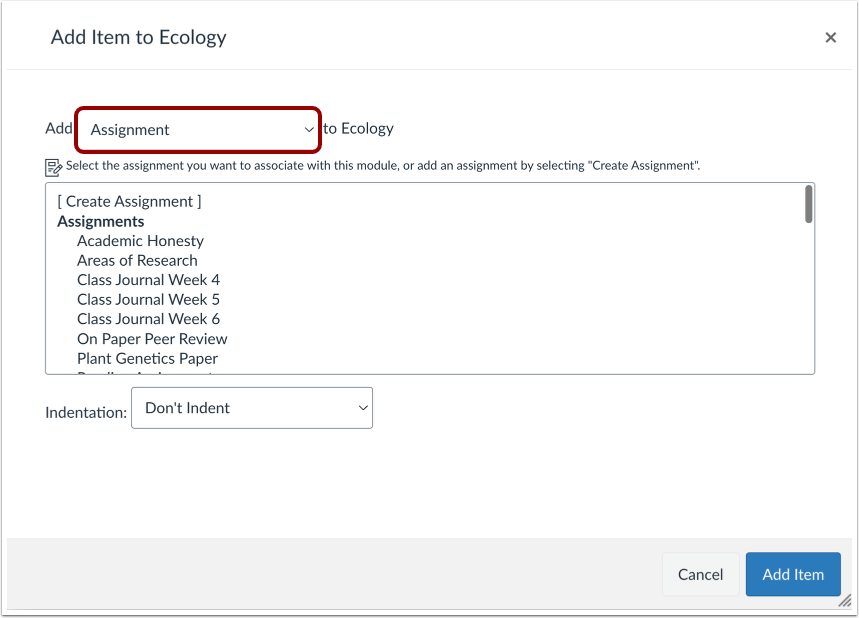
In Modules, click the Add Item icon (+) for the relevant module.

From the menu at the top of the window, select Assignment. Existing course assignments appear below.

Select the assignment and click Add Item.

Adding the assignment to a module does not create a second copy. The module item links to the existing assignment.
Both the assignment and its module item must be published for students to access it through Modules.
Check that students can access the assignment
Make it a routine to use Student View and open the assignment as a student.
Check that:
- the assignment appears in the correct place;
- it opens normally;
- the instructions are visible;
- the correct due date is displayed; and
- all links and supporting materials are accessible.

The Student View button is located in the upper-right corner of the course home page.
Give a student an extended due date
To give one or more students an extended deadline, add a separate Assign To card.
Do not change or remove the original card for the other students, even after their submission deadline has passed.
Click + Add below the existing assignment dates. A new Assign To card appears.
Enter the name of the student or students and set their new dates.

You can include multiple students on the same card when they share the same deadline. Start typing a student’s name if it does not immediately appear.
Add as many separate cards as needed for students with different deadlines.
After adding a separate card, check that the original card applies to Everyone Else.
Assign an assignment to specific students
When an assignment is intended only for some students, specify the intended recipients in the Assign To section.
Students who are not included will not see the assignment, and Canvas will not expect them to receive a grade for it.
The assignment can be assigned using:
individual student names,
course sections – learn about course sections,
differentiation tags, when enabled – learn about differentiation tags.
Assign the activity by student name
Scroll to the Assign To section at the bottom of the assignment settings.
Remove Everyone by clicking the Remove icon (×).
Enter the names of the students who should complete the assignment.
Start typing a student’s name if it does not immediately appear in the list.
Turnitin similarity review
Turnitin can compare student submissions with other sources and produce a similarity report.
A similarity report identifies matching text. It does not, by itself, determine whether plagiarism has occurred.
Before you begin
Under Submission Type, select Online and File Uploads. The Plagiarism Review setting is only available for compatible submission types.
Turnitin settings
Under Plagiarism Review, select Turnitin. The Turnitin settings appear.

Under Compare submission against, select the source collections that should be included in the comparison.
Under Similarity Report, review the available exclusion settings.
For Icelandic text, excluding very small matches—for example, matches shorter than 16–20 words—may make the report easier to interpret. However, the appropriate setting depends on the assignment and discipline.
Select Save as default settings to reuse the same settings for future assignments.
Under Show report to students, select when students can view the report.
Immediately is commonly used, but the appropriate setting depends on whether students are expected to revise and resubmit their work.

Group assignment
To create a group assignment:
Select This is a Group Assignment.

Select the appropriate Group Set.

When one group member submits the assignment, the submission appears for all members of that group. By default, the grade and feedback entered for one group member apply to the whole group.
To assign different grades to individual group members, select Assign Grades to Each Student Individually.
Important
Every student must belong to a group in the selected group set. A student who is allowed to work alone should be placed in a one-person group.
Do not change group membership after students have started submitting work.
When students have joined groups through self-sign-up, disable self-sign-up before submissions begin. This prevents students from changing groups or leaving their group during the submission period.
Ask students to check that they are in the correct group before submitting.
Canvas uses a Group Set to connect the assignment to the groups that complete it.