Participation and Badges
00:07: How do I use Roll Call Attendance badges in a course? 00:10: In Course Navigation, click the Attendance link. 00:14: Badges can be added and managed in any student's attendance information profile. 00:18: In List View, click the More tab next to a student's name. 00:24: In Class View, click the name of the student. 00:27: Any existing badges appear as buttons below the student's attendance information. 00:32: All available and created badges are created for the entire course and will be shown for 00:36: each student. 00:39: To add a new badge, click the Add Badge link. 00:43: Create a name for your badge. 00:45: Assign an icon 00:47: and choose a color to highlight the background when the badge is assigned. 00:52: Click the Save Badge button. 00:55: To edit any existing badge you created for your course click the Manage 00:59: Badges link. 01:01: To change the badge name, icon or color, click the badge name. 01:07: To delete a badge, click the Delete button. 01:09: Deleting a badge will delete the badge for the entire course and all 01:13: students. 01:15: When you want to sign a badge, make sure you are viewing. 01:18: The profile for the specific student, who should receive a badge. 01:22: To assign a badge, click the name of a badge. 01:25: The badge will highlight with the set badge color. To remove a badge, click 01:30: the badge again. 01:32: This guide covered how to use Roll Call Attendance badges in a course.
Roll Call Badges
Roll Call Badges let a teacher quickly mark student participation or other notable activity in Attendance. When a badge is assigned, it is linked to the selected date. Badges are not visible to students. In Canvas, badges are created in the Attendance tool, can be used for any student in the course, and are tied to the selected date when assigned.
Create a badge
Click Attendance in the course navigation.
Click More next to a student’s name. In Class View, click the student’s name instead.

Click + Add badge.
Enter a short name, choose an icon and a color, and click Save Badge.
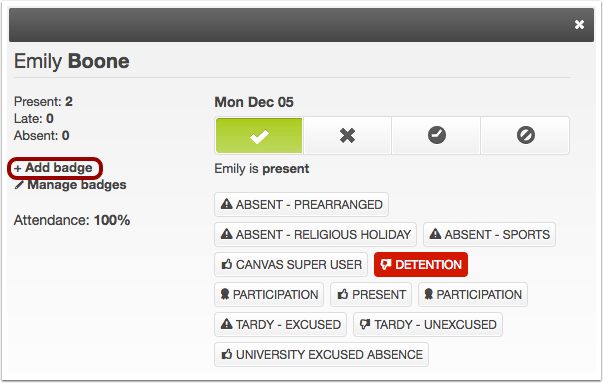
Creating a badge does not automatically assign it to the student. It only becomes linked to a student when you click the badge to assign it.
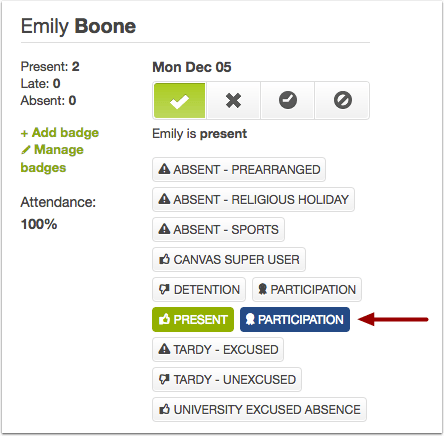
Assign a badge
Click More next to the student’s name.
Click the badge you want to assign.

Remove a badge
Click More next to the student’s name.
Select the date when the badge was assigned.
Click the highlighted badge to remove it.
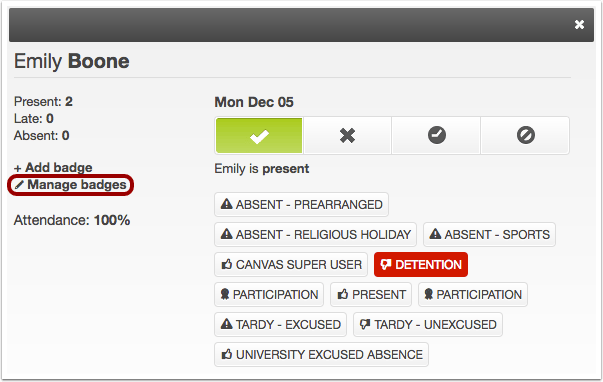
Edit a badge
Changes to a badge apply to all students who have received it.
Click More next to a student’s name and select Manage badges.
Click the badge you want to edit.

Make your changes and click Save Badge.


